If you work using public clouds such as OCI, GCP, Azure, AWS, etc, even if you are learning, a good option is to configure a site to site vpn from your office (home or wherever you are) to the public cloud.
A router that i’ve tested with very good results is the Synology MR2200ac and in this post I’m going to show you how to configure it. The public cloud will be Oracle Cloud Infrastructure, but i’ve tested on GCP with the same results. In order to be able to use Point-to-Point VPN you must pay for an extra license to synology (10$ aprox., it’s a perpetual license, just pay one time) but you can try it with a temporary free license.
This is the router:
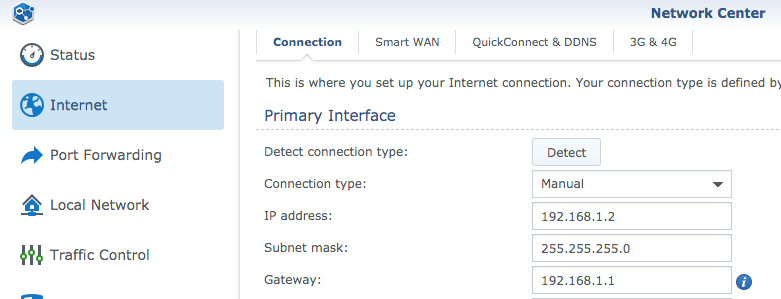
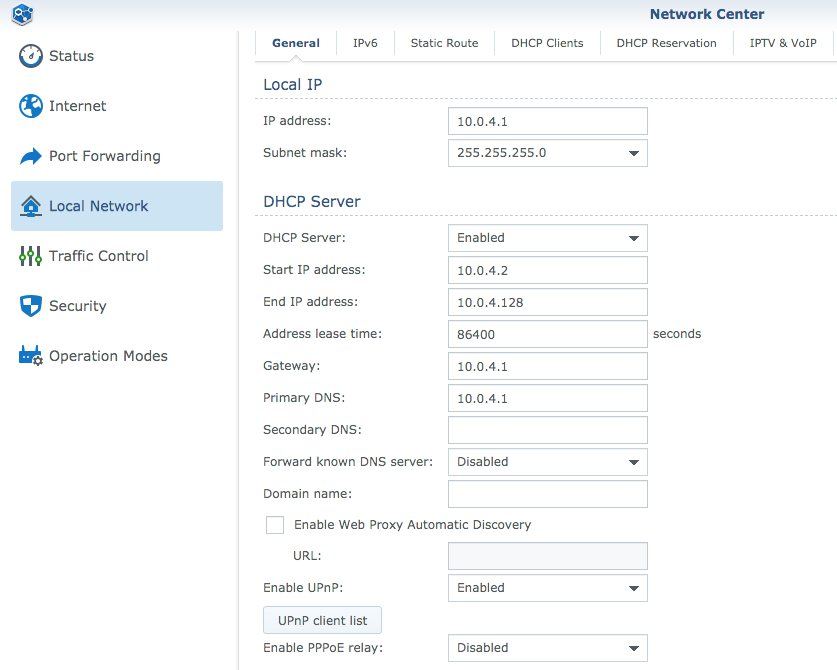
And this is my MR2200ac config:
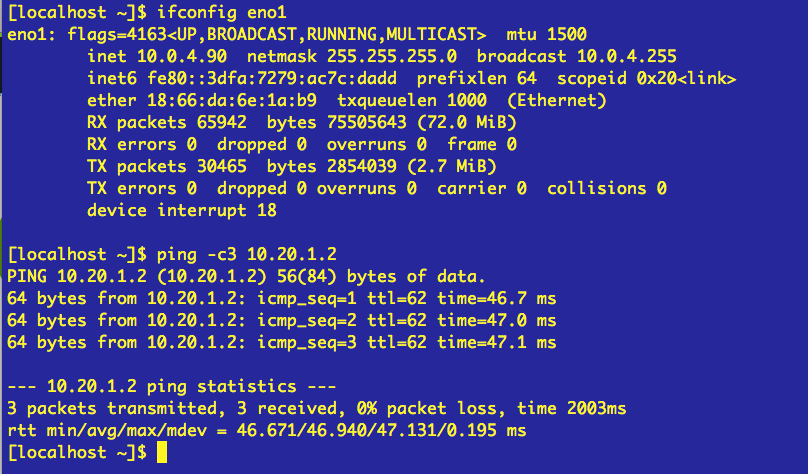
My Synology MR2200ac (10.0.4.1 )is configured within the 10.0.4.0/24 subnet. It access to internet throw my ISP router (192.168.1.1):
Prerequisites.
– VCN. The network will be 10.20.0.0/16 and Private or Public Subnet 10.20.1.0/24 Check it out this post.- One compute instance in a private or public subnet. In this example i’ll use a compute instance named dbserver1 which is in a private subnet. Check it out this post (just the Creating the webserver1 instance)All Components i’m going to use are in the same compartment.
DRG and CPE.
Dynamic Routing Gateway.
The DRG is a virtual router that works as communication path between the VCN and a network other than internet, our on-premise network for example.
Customer Premises Equipment.
CPE is no more than the on-premise equipment at the other side of the vpn tunnel.
Once you have created the VCN (in our example 10.20.0.0/16) and the private subnet (in our example 10.20.1.0/24) lets create and configure the DRG:
Go to Hamburger button –> Networking –> Dynamic Routing Gateways.
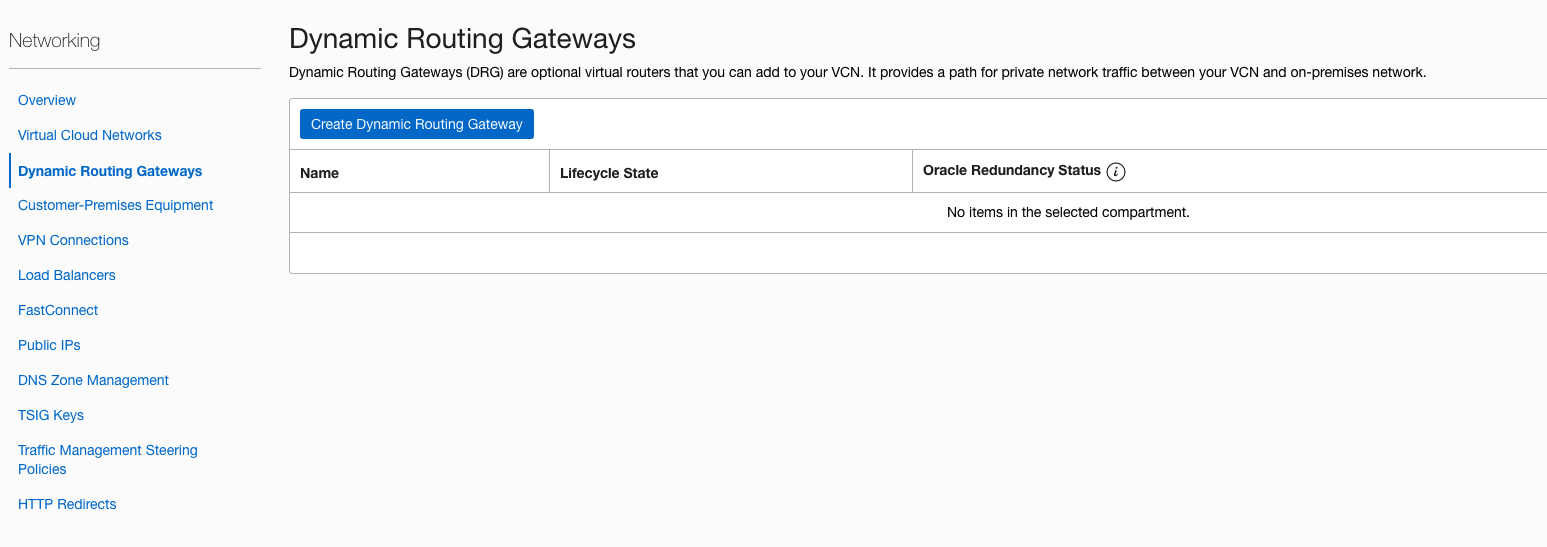
Click “Create Dynamic Routing Gateway” button
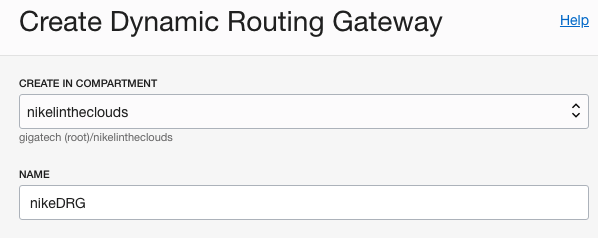
Choose a compartment and a name, click “Create Dynamic Routing Gateway” button.
Now, we have to attach this DRG to out network.
Go to Hamburger button –> Networking –>Virtual Cloud Networks, click your network and in the left panel, click ” Dynamic Routing Gateways”:
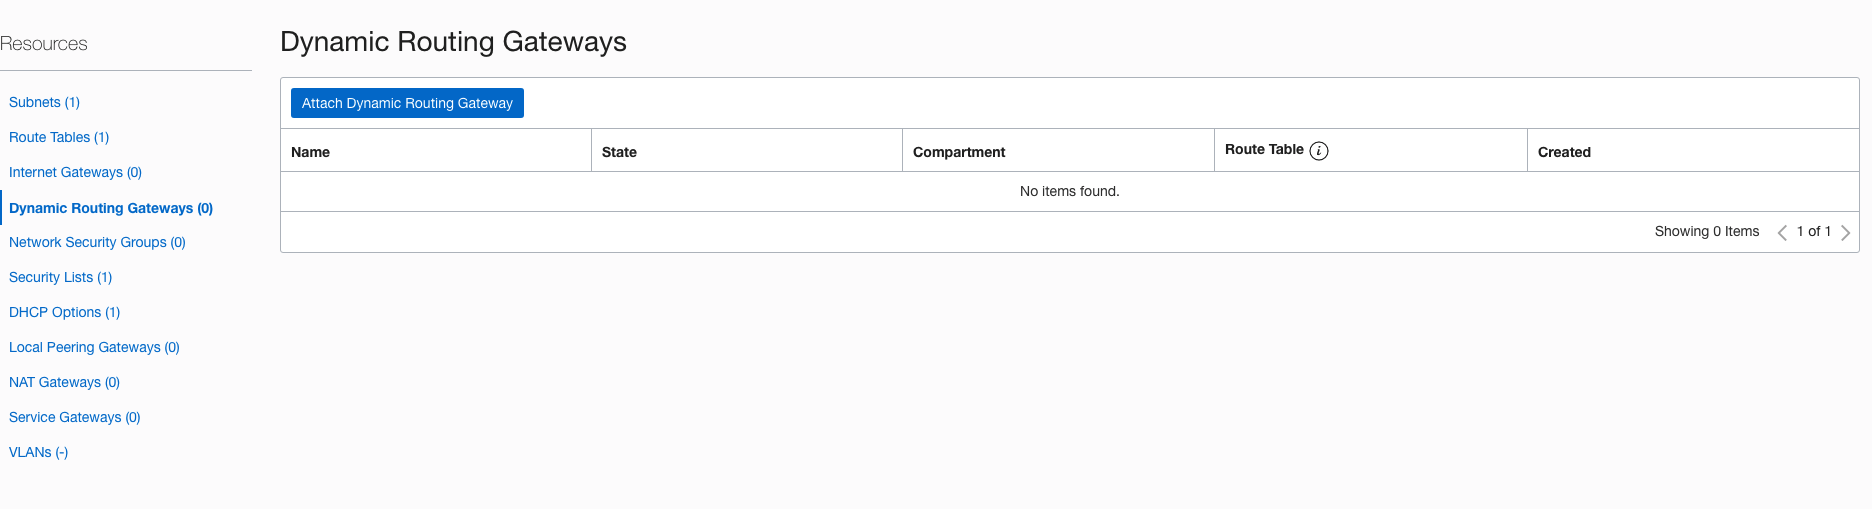
Click “Attach Dynamic Routing Gateway” button and choose the DRG just created:
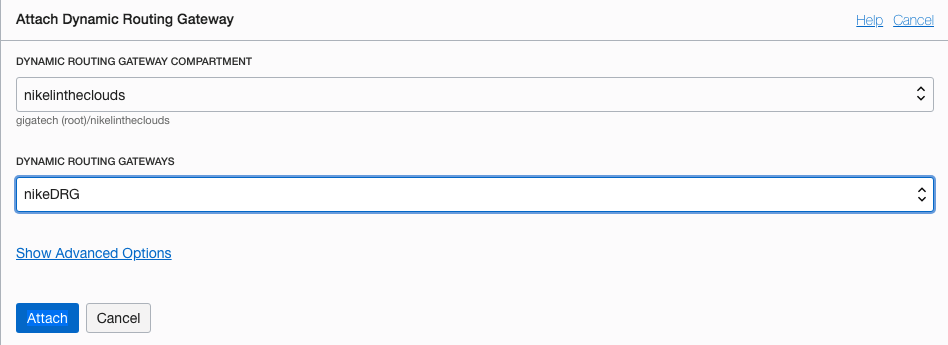
Then click “Attach” button.
We have a DRG attached to out network, Lets create the CPE:
Go to Hamburger button –> Networking –> Customer-Premises Equipment. Click “Create Customer-Premises Equipment” button.
You need to provide the public ip address of your network. If you dont know it, go to google and look for “show my ip” it will give you your public IP.
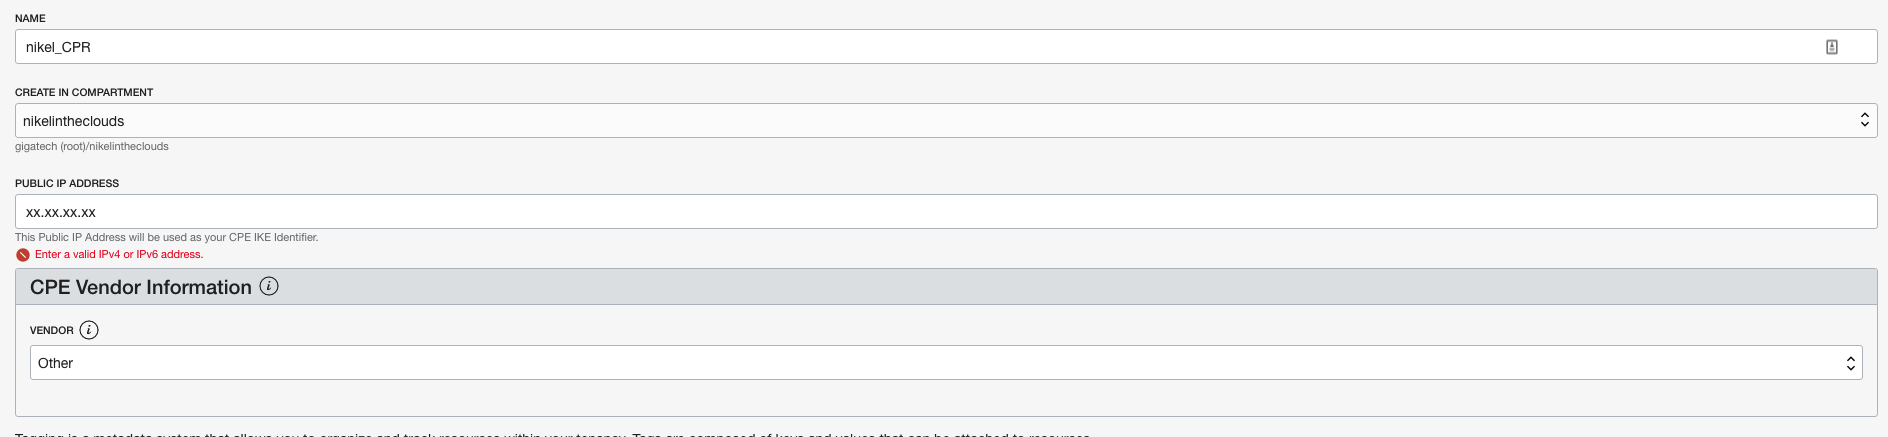
Click “Create CPE” button.
Now that we got the DRG and the CPE, lets create the vpn:
Go to Hamburger button –> Networking –> VPN Connections, Click “Create IPSEC Connection” button.Give a name to the vpn and choose your CPE and the DRG. The static route will be your on-premise subnet, in my case 10.0.4.0/24
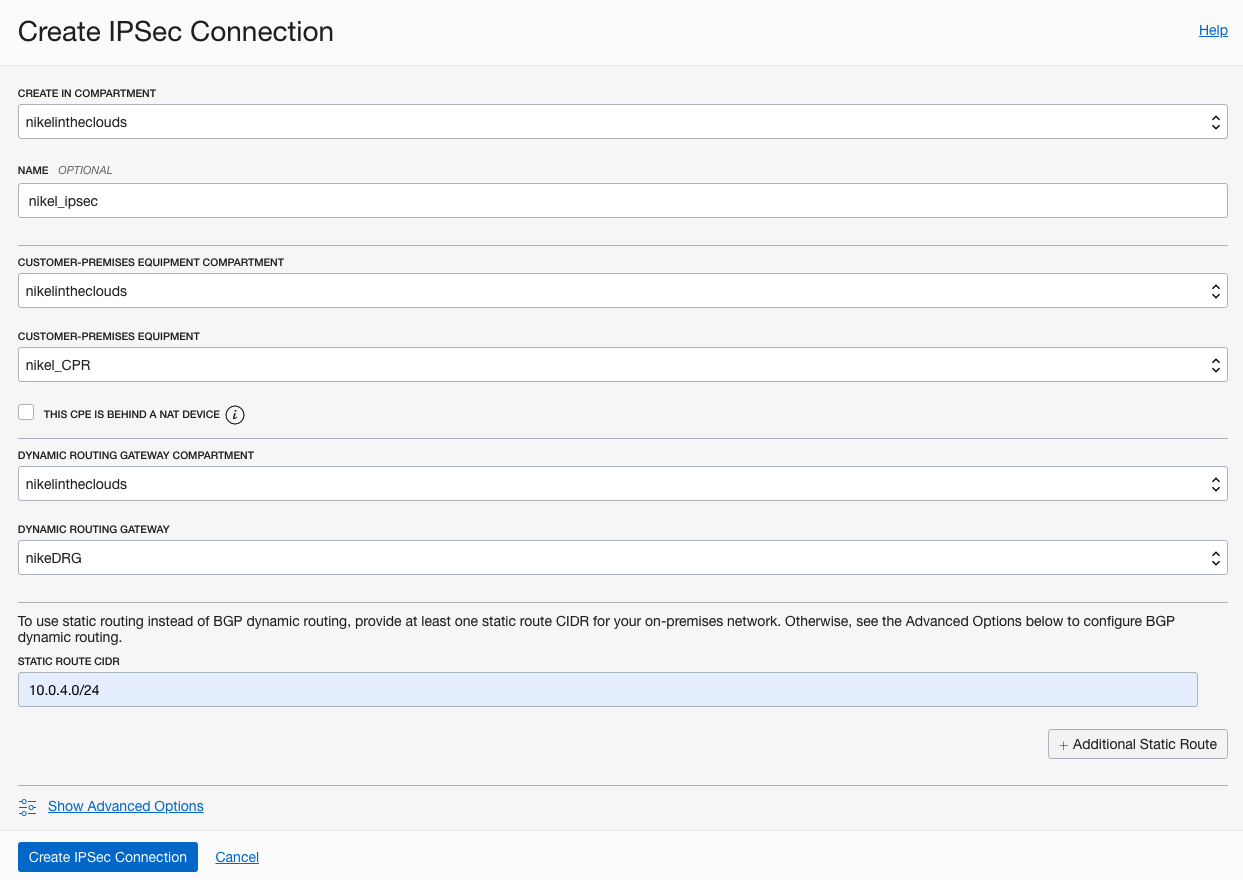
Click “Create IPSEC Connection” button.
Two tunnels will be created for redundancy propouses with an ip address each one. In our example we’ll use one of them.
We need to config the other side of the VPN, so lets configure the MR2200ac.
Open the VPN Plus Server:

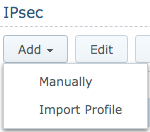
Click Site-to-Site VPN, then click “add” button and click Manually.
We need fill some data in order to configure our router.
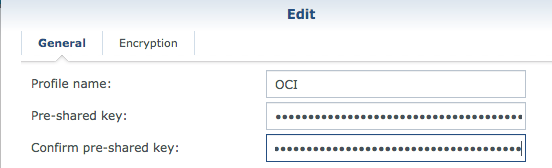
Profile name: Choose a name, for example OCI.
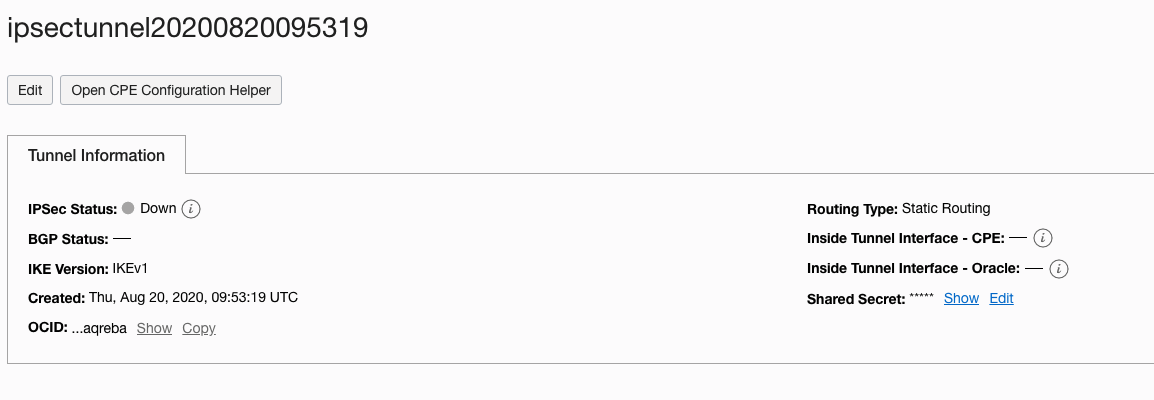
Pre-shared key: To obtain this key, go to Hamburger button –> Networking –> VPN Connections, click your vpn and click on one of the tunnels for example the first one. Then click Show in the “Shared Secret label:
Copy the key and paste it on the Pre-shared key and Confirm pre-shared key (in MR2200ac):
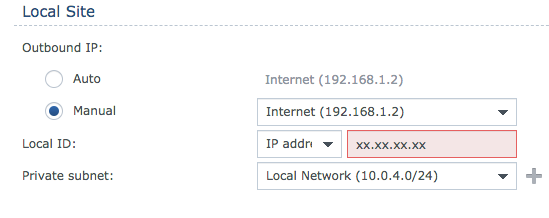
Local Site.
In Outbound IP: click Manual, select the internet connexion and in the Local ID write your public IP, again, if you don’t know it, go to google and look for “show my ip” it will give you your public IP.
In private subnet, your on-premise subnet, in my case 10.0.4.0/24:
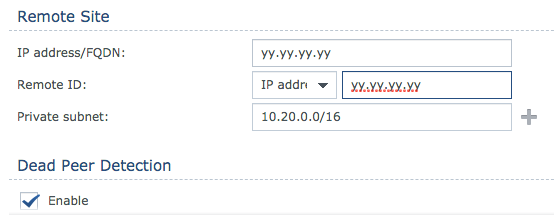
Remote Site.
In IP address and Remote ID write the public ip of the tunnel (Oracle VPN IP Address).In Private subnet, the OCI VCN CIDR block.
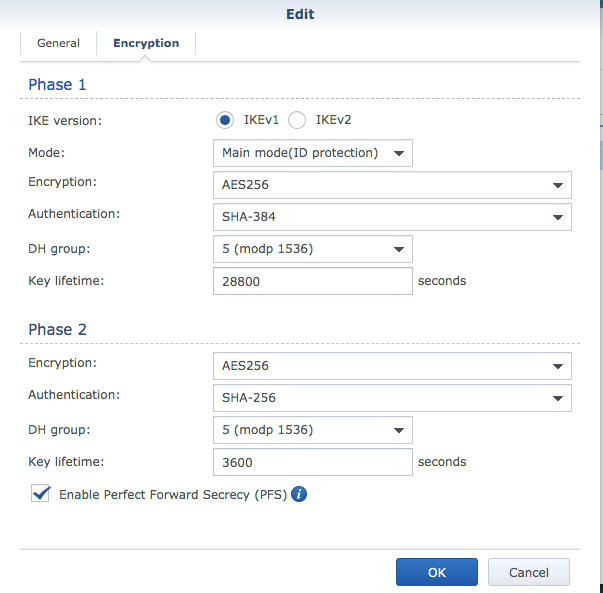
In the Encryption area write the next values, this time we’ll use IKEv1.
Click OK, and you must see “Connected” status.
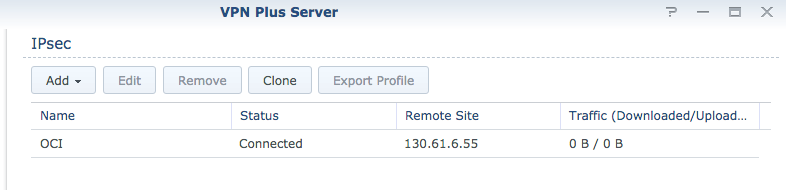
And the tunnel:

Two more steps are necessary in order to connect to our compute instance, one route rule and two FW rule.
– Add Route Rule:In VNC Details page, click in the left panel and click Route Tables, then click “Default route Table for vcn [YOUR_VCN]
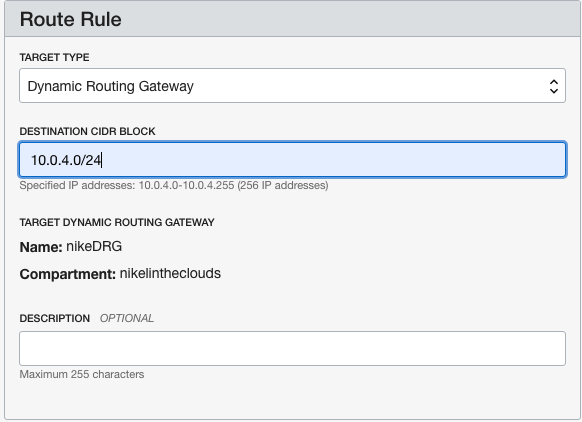
Click “Add Route Rules”
Target Type: Dynamic Routing Gateway.Destination CIDR Block: Your on-premise subnet, in my case 10.0.4.0/24:
Click “Add Route Rules” button.

In the VCN details page in the left panel, click “Security List” and then click “Default Security List for [YOUR_VCN]
Add tow rules, one for icmp, the other for ssh:

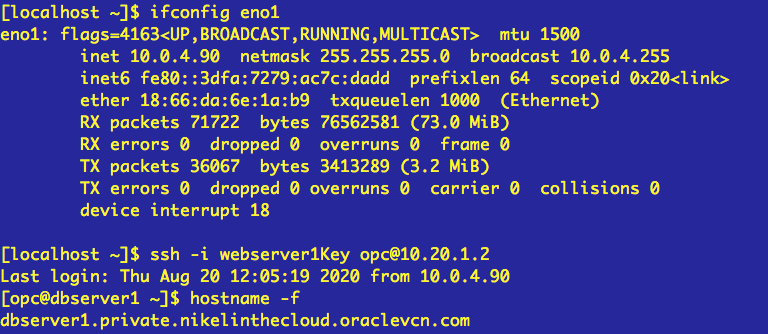
Now you must be able to connect your compute instance throw the vpn connection.